Axle seal issues can sneak up and cause major downtime. But how much does it really cost to replace one? And what tools do you actually need to do it right?
The short answer: expect to pay $120–$400 depending on the job. But with the right tools and guidance, you can do it yourself for under $100. Let's break it all down—clearly, practically, and with zero fluff.
This guide compares professional vs. DIY replacement, breaks down cost drivers, and explains how the right tool setup can save you from a leaking disaster.
What’s the average axle seal replacement cost?
The most common question I get from customers: “How much will this actually cost me?”
Here’s a breakdown of typical replacement options:
| Option | Cost Estimate | Includes |
|---|---|---|
| Dealership Repair | $300–$450 | Labor, OEM parts |
| Local Garage | $200–$350 | Labor, aftermarket parts |
| DIY with Tool Kit | $60–$120 | Tools, seal, gear oil |
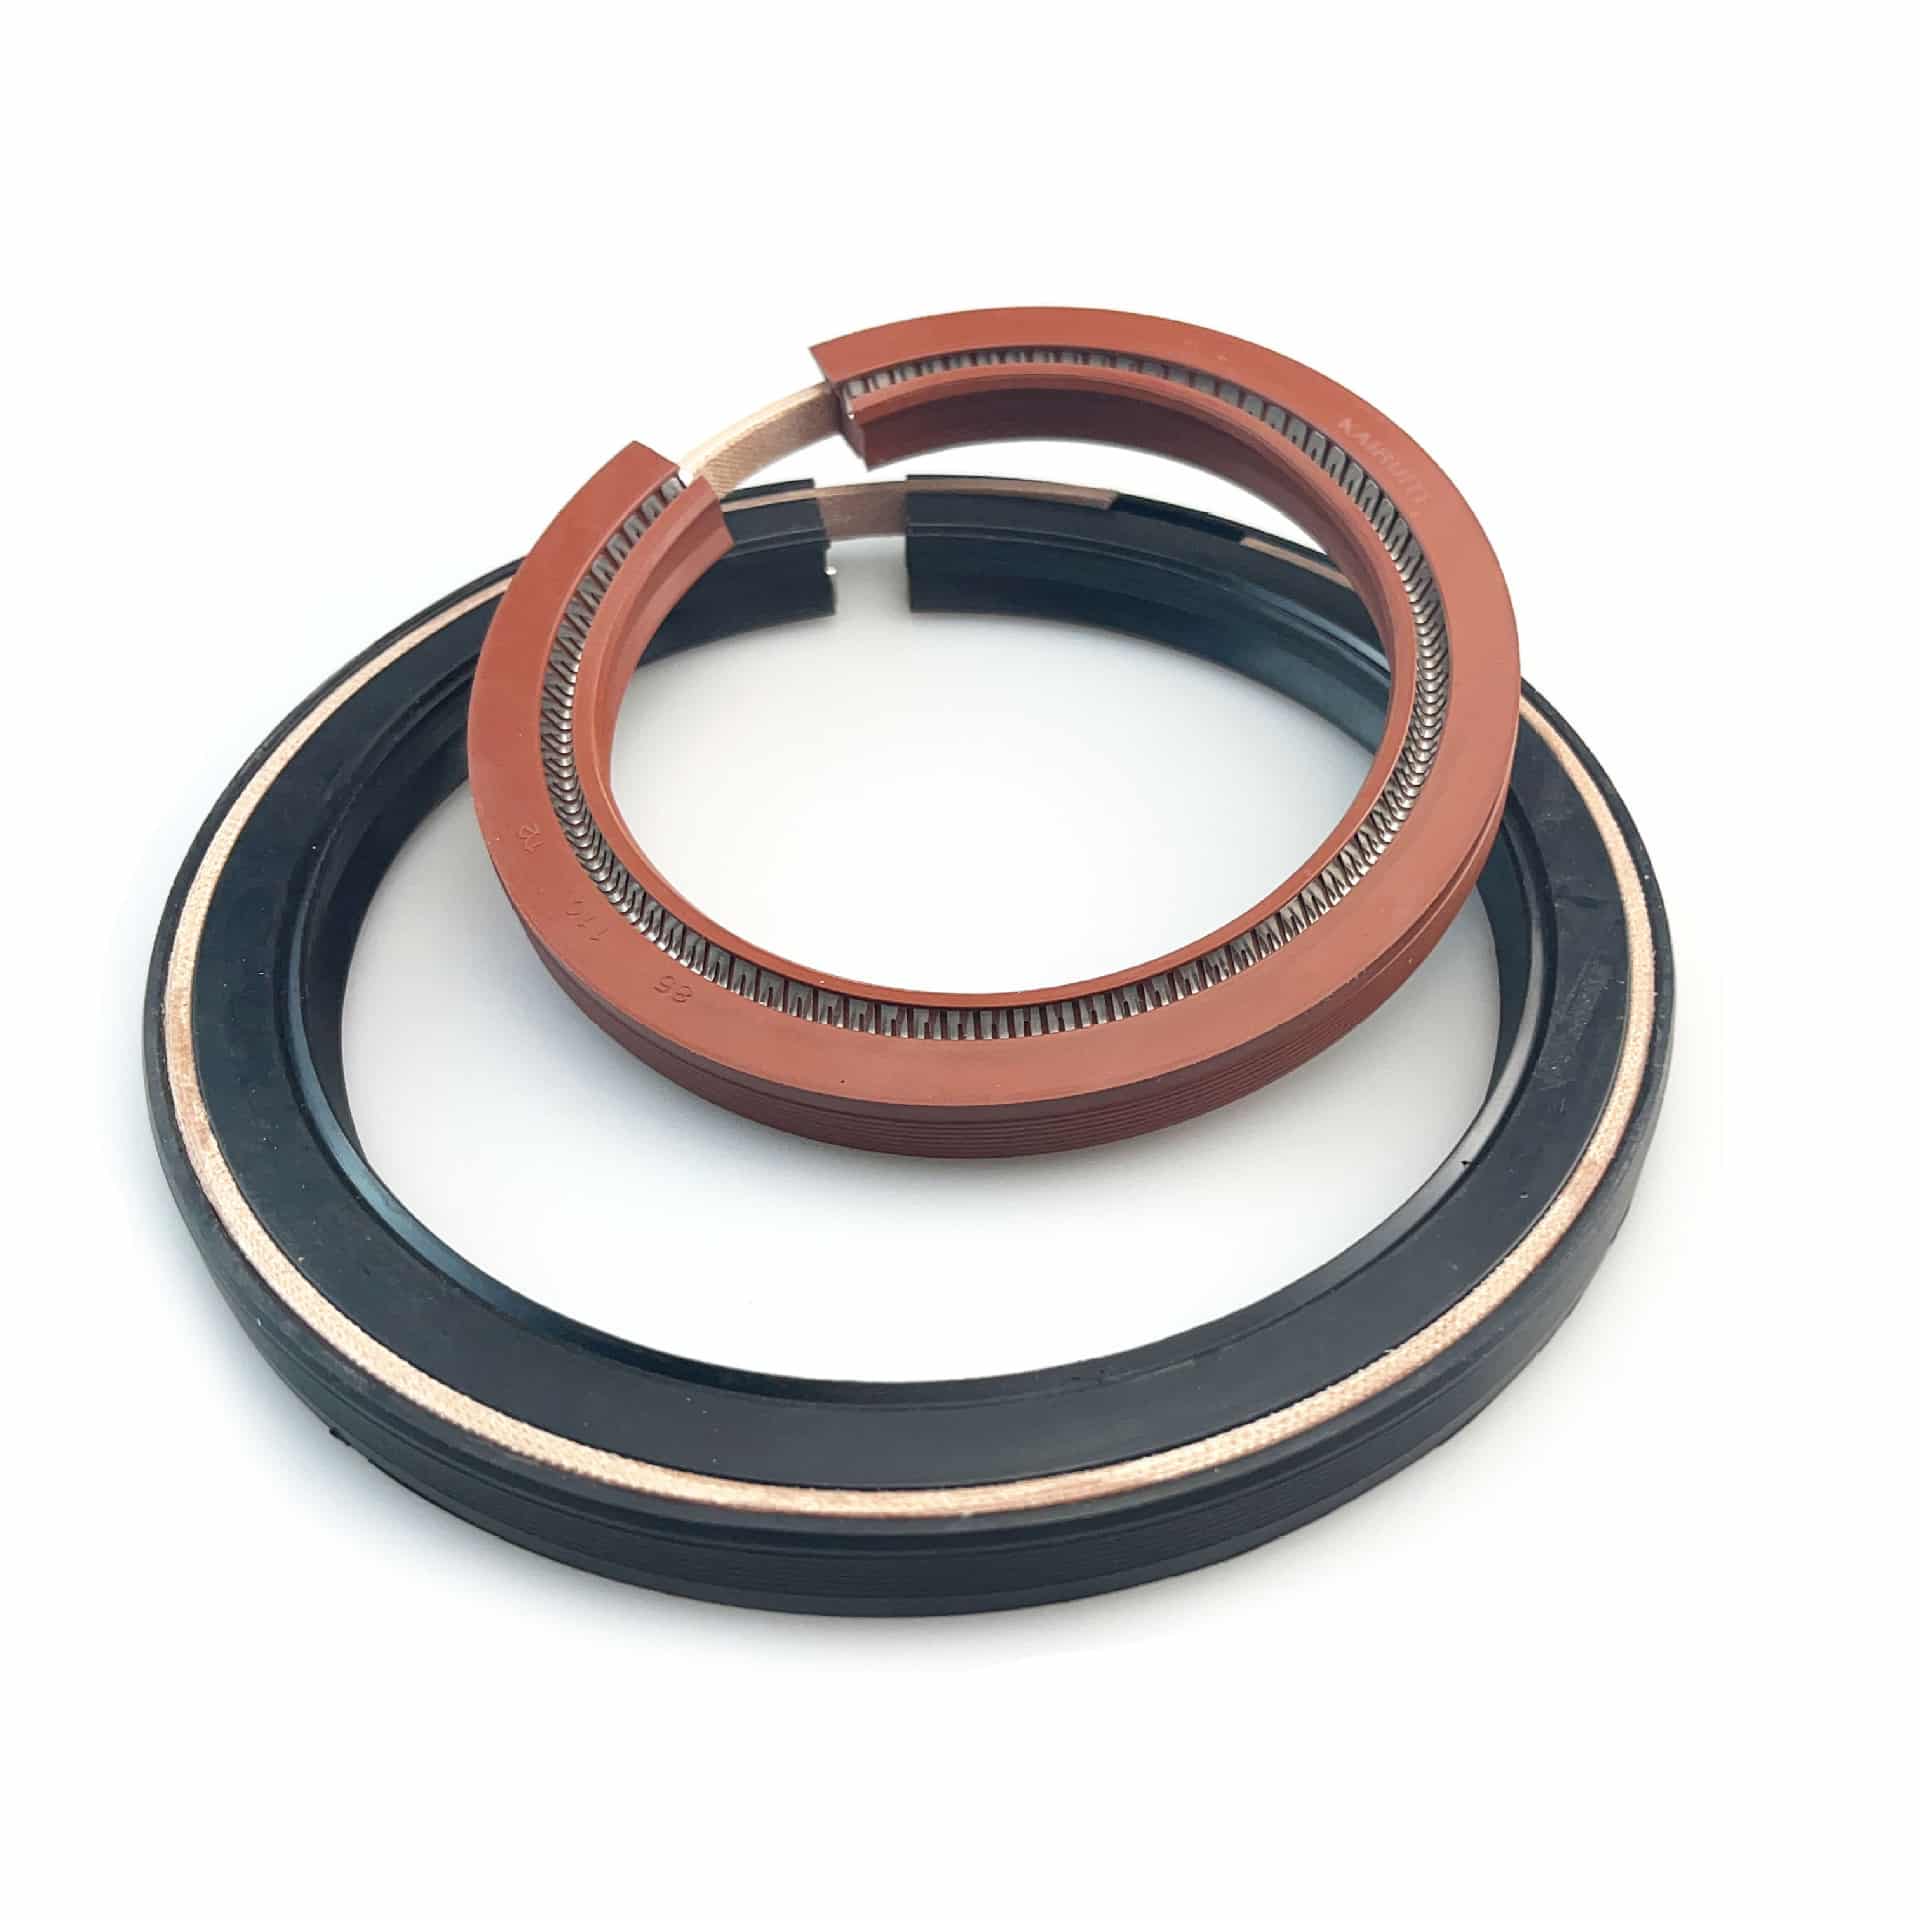
The largest variable is labor. If you go DIY, investing in a reliable seal like our high-quality oil seal reduces the chance of leaks and premature wear.
What tools do I need for axle seal replacement?
Too many people jump into axle seal repair with just a wrench—and regret it later.
To properly remove and install a new seal, you’ll need:
- Axle seal puller or pry bar
- Installer tool or driver set
- Torque wrench
- Gear oil
- Degreaser and shop rags
For high-volume jobs, I always recommend a complete axle seal installer tool kit to ensure proper alignment and prevent seal deformation.
Is DIY axle seal replacement worth the effort?
If you have the time and basic mechanical skills—yes.
Replacing a rear axle seal involves:
- Removing the wheel and brakes
- Draining differential oil
- Pulling the axle shaft
- Extracting the old seal
- Installing the new seal with the correct tool
- Refilling gear oil and reassembling
For first-timers, I suggest reading our foundational axle seal guide to avoid common mistakes.
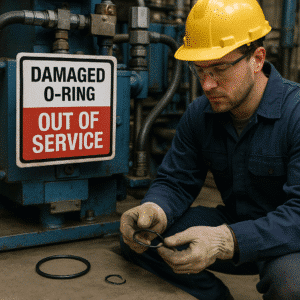
What mistakes should you avoid during axle seal replacement?
The biggest cost in axle seal jobs isn’t the part—it’s fixing installation errors.
Here are the top mistakes I’ve seen:
- Using screwdrivers instead of a seal puller
- Hammering seals without a guide tool
- Choosing the wrong seal size
- Failing to clean the axle housing
- Reusing contaminated gear oil
To get it right the first time, check this step-by-step oil seal installation guide.
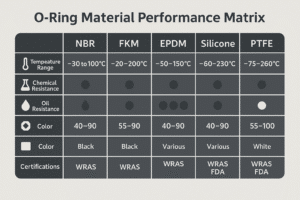
OEM vs. Aftermarket axle seals: Which should you choose?
Here’s a quick comparison:
| Factor | OEM Seals | Aftermarket Seals |
|---|---|---|
| Fit Accuracy | Excellent | Varies by brand |
| Material Quality | Verified | Needs careful selection |
| Cost | Higher | More affordable |
| Use Case | Long-term fleets | Light-duty/DIY |
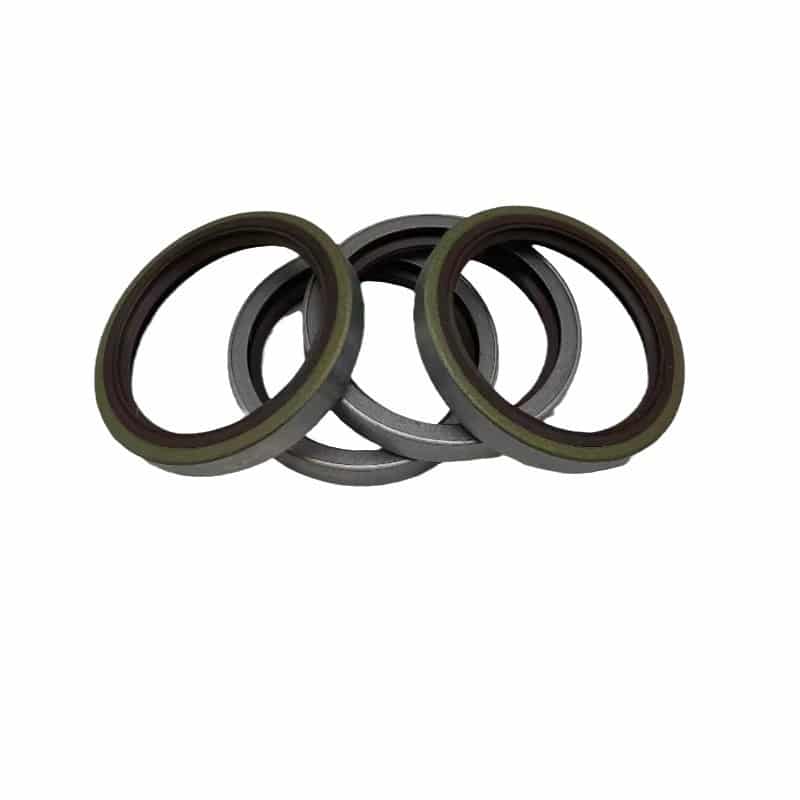
We supply both options—our OEM axle seal supplier guide explains how to source the right one with low MOQ.
Conclusion
Axle seal replacement doesn’t have to be intimidating. With the right seal, tools, and prep, you’ll avoid downtime, reduce costs, and extend your axle’s service life.
Need help choosing the right seal or tool kit?
Contact us to get expert support, OEM-grade seals, and ready-to-ship installer kits.
📧 Email: [email protected]
📲 WhatsApp: +86 17622979498
Related topic
Rear Axle Seal Leak: Causes and Fixes
Proper Oil Seal Installation Guide
Axle Seal: What It Is and Why It Matters