Leaking hydraulic cylinders drain productivity fast. I’ve been there—messy oil, wasted time, and costly downtime. But once I followed a structured process, seal replacement became straightforward.
Hydraulic seal replacement involves removing the cylinder, disassembling it, cleaning every component, installing new seals, and reassembling with precision.

Let’s walk through this—from tools to seal selection—to help you do it right the first time.
What tools are needed to replace hydraulic seals?
The wrong tools cause scratches, leaks, and failed repairs. Using the correct toolkit is critical for a damage-free, efficient seal replacement process.
| Tool | Function | Tip |
|---|---|---|
| Seal Pick | Remove old seals | Use plastic tips to avoid scratches |
| Installer Tool | Fit seals into grooves | Use lubrication for smoother fit |
| Wrenches/Allen Key | Disassemble cylinder | Match bolt sizes to avoid stripping |
| Lint-Free Cloth | Clean inner surfaces | Prevent fiber residues |
| Soft Mallet | Gentle reassembly | Prevent rod and lip damage |
| Flashlight | Inspect cylinder interior | Look for wear, rust, or scoring |
Always clean components with non-residue solvent. Even small debris can destroy a new seal.
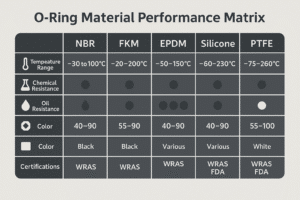
Many professionals rely on NBR O-rings for routine hydraulic repairs.
How do I choose the right seal for my hydraulic cylinder?
Seal selection depends on cylinder configuration, pressure, and groove dimensions. Matching the right seal type prevents leaks and extends service life.
| Cylinder Type | Best Seal Type | Groove | Product Link |
|---|---|---|---|
| Rod End (Single) | UN | Closed groove | UN Hydraulic Seal |
| Buffer / Double Rod | KDAS | Open groove | KDAS Seal |
| Piston Seals | IDU / ODU | Symmetrical | IDU/ODU Seals |
| Dust Wiper | FA | External Lip | FA Wiper Seals |
| Guide Support | Guide Band | No groove | Guide Band |
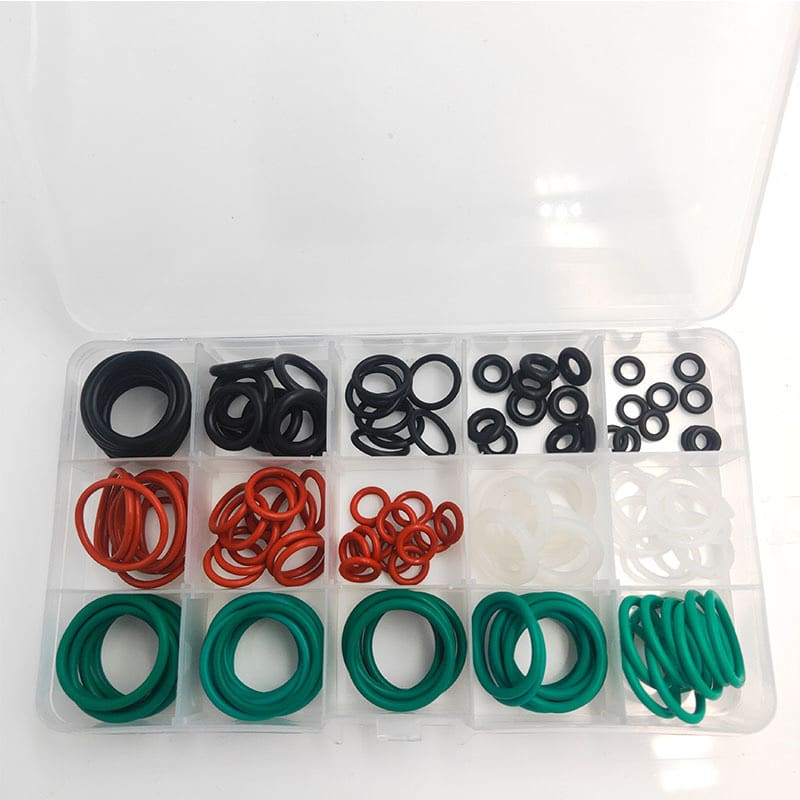
If your application requires a custom fit, explore our O-Ring Maker Kit for personalized sealing options.
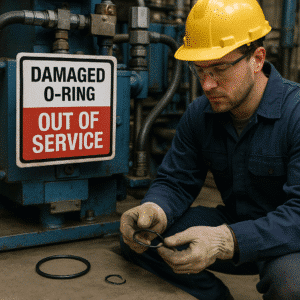
Why do hydraulic seals fail after replacement?
80% of early seal failures happen within 72 hours—usually due to installation errors or material mismatches. Here’s how to avoid them:
| Cause | Problem | Prevention Tip |
|---|---|---|
| Wrong Material | Chemical or heat failure | Match fluid type & temperature |
| Poor Seating | Seal pops or leaks | Use correct tool + silicone lubricant |
| Rod Damage | Seal edge cuts | Smooth out burrs / polish rod ends |
| Dirty Surfaces | Grit causes abrasion | Clean thoroughly before install |
| Old Backup Rings | Misalignment + failure | Always replace entire kit |
If you're sealing systems under extreme load, consider using high-pressure O-rings for better resistance.
Can I use standard rubber seals in hydraulic systems?
No. General rubber materials lack the chemical and pressure resistance required for hydraulic environments. Always use seals designed specifically for hydraulic cylinders.
For example, our FKM O-Rings provide exceptional performance in high-temperature hydraulic fluid applications.
How do I correctly measure hydraulic seals for replacement?
Measure the groove's:
- Inner Diameter (ID)
- Outer Diameter (OD)
- Width and Depth
Use a digital caliper and always match the profile with the original spec. For step-by-step instruction, read our guide on how to measure hydraulic seals.
What’s the difference between rod seals and piston seals?
Rod seals prevent leakage from the cylinder’s rod end, while piston seals block fluid between the internal piston chambers. Selecting both correctly ensures optimal system sealing.
You can explore more about the types of hydraulic cylinder seals to match your configuration.
Conclusion
Replacing hydraulic seals requires more than tools—it takes precision. With the right materials, methods, and mindset, you’ll restore efficiency and extend service life.
Get Seal Support or Send Us Your Specs
Let’s make your hydraulic repair easy and efficient. OEM kits, metric/inch sizing, and urgent shipping available.
📩 Email: [email protected]
📱 WhatsApp: +86 17622979498
Related topic
How to Measure Hydraulic Seals for Perfect Replacement?
What Are the Types of Hydraulic Cylinder Seals?
Common Hydraulic Seal Failures and How to Prevent Them